As society develops, people’s demand for beauty and home decoration increases. Not only focusing on interior decoration. Everyone wants their home to be perfect in every detail. From the main work in the house to the auxiliary works such as the tiled verandah, bathroom, and toilet, …
The tiled toilet is important to create a clean and comfortable space in the house. In this article, Australiatiler will guide you on how to tile the toilet floor – how to tile a beautiful toilet for you properly.
See more: Top 10 Best Tiled Shower Ideas
HOW TO CHOOSE A TILE FOR THE TOILET?
To make it easier for you to choose toilet tiles. Australiatiler has put together a list, including the criteria for choosing toilet tiles that you should consider.
1. About color
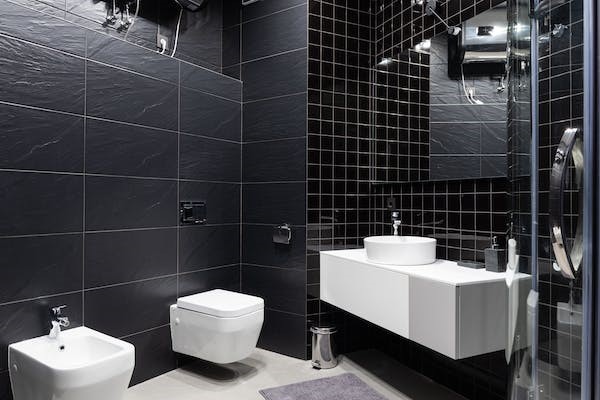
Simple, modern designs are very popular in today’s interior design. The choice of toilet floor tile color can be customized according to your preferences. The floor tiles in the toilet are often coordinated with the same color tone, creating harmony and bringing a comfortable and pleasant space to the user. Colors like white, cream, yellow or gray, and black are trending in toilet design.

2. About the anti-slip, water-resistant feature
The anti-slip feature is a top priority when choosing floor tiles for the toilet. Because the shower is a place that is often exposed to water and cleaning agents, it is very easy to slip and fall for family members, especially young children and the elderly. Anti-slip tiles help users feel more secure as the first choice when looking for floor tiles for the toilet.
 Anti-slip wood grain tiles are a perfect choice
As mentioned above, the bathroom is a place that is often exposed to water, the floor is soaked in water for a long time, and it is easy to damage the floor, creating conditions for bacteria and mold to penetrate and damage the floor. Affects the aesthetics as well as the health of the user. Each brick material has its advantages and disadvantages. Cleaning the bathroom will be simpler when you choose tiles with materials such as granite tiles, marble tiles, and ceramic tiles,… Do not choose tiles with many grooves or too rough surfaces that make it difficult to clean the floor.
3. About the size
Like the bathroom, there are also many sizes of tiles for the toilet such as 30×60 cm, 80×80 cm, 30×80 cm, and 60×60 cm. Therefore, whether the toilet is large or small, you can choose an easy solution.
 There are various sizes of tiles for the toilet
Tile size 30×60 cm is most used by most people. With this size, the toilet feels airy and spacious. You also need to measure the toilet size to calculate the right quantity and size. This way you will avoid wasting used tiles. At the same time avoid the need to cut tiles that cause aesthetic loss for the space to be used.
4. About the brightness and gloss of tiles
The brightness and gloss of the tiles for the toilet should be in harmony with the light inside. Interior lighting includes electric lighting and natural light. Of course, the brightness and gloss of the tile make cleaning and cleaning the toilet a lot simpler.
 Shiny toilet wall tiles are easy to clean
At the same time, this is an area that often needs to be cleaned and scrubbed, so the tiles also need to be chemical resistant and highly resistant to corrosion.
HOW TO INSTALL TILED FOR THE TOILET STEP BY STEP?
Here are detailed instructions for the construction process – How to tiling a beautiful toilet:
Step 1: Prepare
– Floor surface: It is necessary to prepare a clean surface, and handle the necessary work before tiling. Because the toilet is a wet area that is often exposed to water. Therefore, this area needs to be carefully waterproofed before tiling.
 Screeding the floor for waterproofing before tiling
– Waterproofing: The waterproofing of the toilet floor, and the waterproofing of the toilet wall is very necessary. You should pay special attention to waterproofing the area of the pipe neck, the point adjacent to the base of the wall carefully.
– Prepare the necessary tools: toilet tiles, tile cutters, trowel, and tile adhesive…
See more: How To Waterproof When Screeding A Shower Base?
Step 2: Measure the size and cut the tiles
Measure the size of the toilet floor and toilet wall. Remember to calculate the width of the brick circuit to determine the most accurate position.
Step 3: Apply tile adhesive – tile glue
Toilet Tile glue can use waterproof tile adhesive. Because the waterproofing ability of the tile adhesive helps to improve the effectiveness of waterproofing this area.
The types of tiling glue are suitable for toilets such as Weber glue, Mater glue, and Crocodile glue… Mix the tiling glue according to the manufacturer’s instructions printed on the package. Then, spread a layer of tiling glue on the surface of the floor and toilet wall to the tile. The area of each layer of tiling glue is about half a square meter, which is reasonable.
See more: Tile Adhesives
Step 4: Tile the toilet
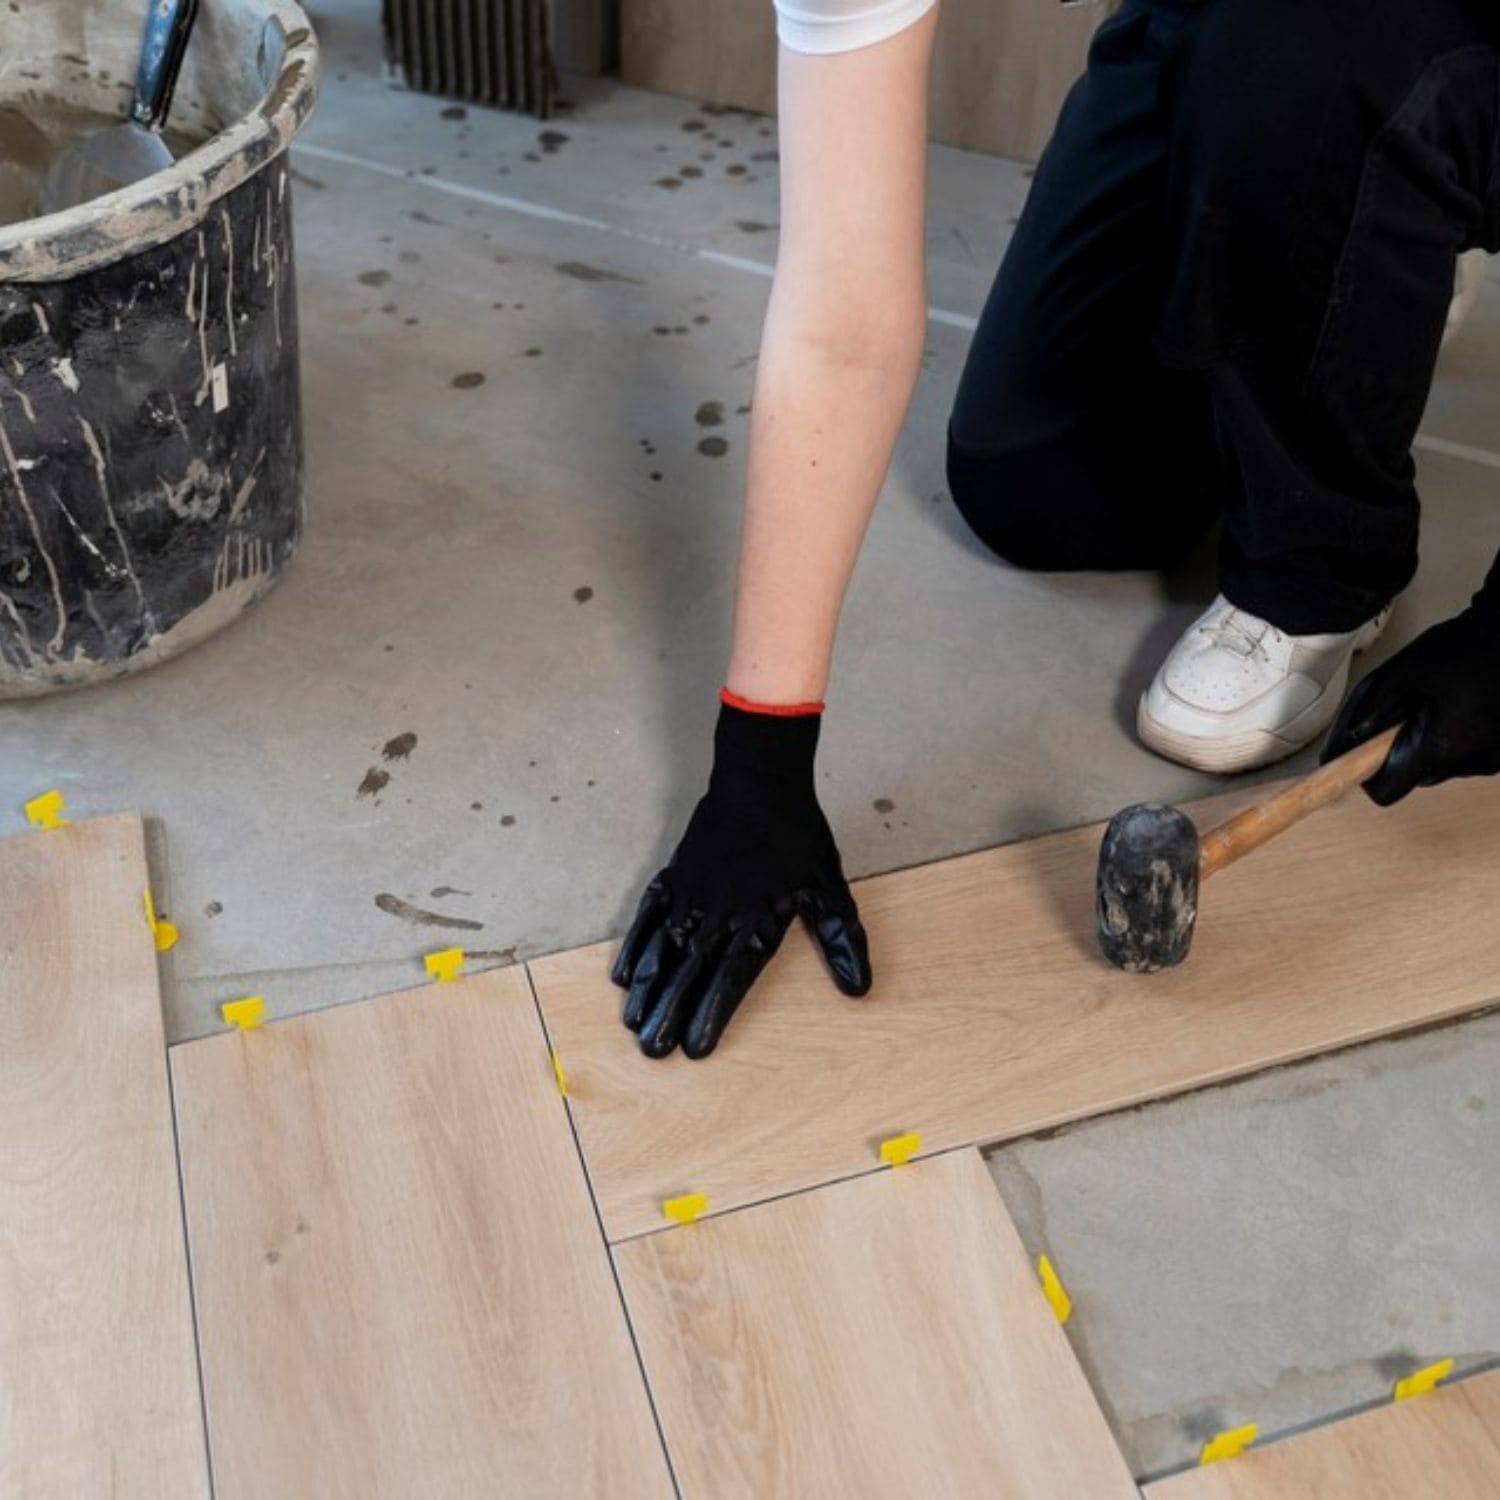
How to tile the toilet wall: Construction of toilet wall tiles from the bottom up. Place the tiles on top of the applied wall glue. Combine plastic glue to fix the position of wall tiles to be balanced and most beautiful. Use a rubber hammer to lightly tap the surface to increase the adhesion of the glue layer and the tile surface.
 Carrying out tiling on the floor and wall of the toilet
How to lay the toilet floor: Put the toilet floor tile in the position of spreading the tile adhesive layer. Use the plastic keel to align and combine it with a rubber hammer to secure the bond. For the toilet floor, it is necessary to pay special attention to the floor level. It is necessary to slope the toilet floor to ensure the drainage of standing water on the floor later.
Step 5: Grouting the toilet tile
You can use white cement or professional tile grout to rub the tile grout. The color often used is white to highlight the cleanliness inside the toilet.
Tile grout adhesives are resistant to stains, yellowing, and peeling. Therefore, tile grout not only improves the aesthetics but also has a long-term effect when used.
See more: How to grout wall tiles
Step 6: Clean the toilet tiling surface
Use a clean towel or sponge to wipe away the stains on the tile surface after tiling. You can also use a cleaning solution to remove cement and mortar stains on tiles. This is the last step of how to tile the toilet to help the wall be cleaned faster.
 Clean the floor after tiling
SOME BEAUTIFUL TOILET TILES IDEAS
 Luxury and modern toilet with cream-gray tiles
 White floor tiles create an airy and clean space for the toilet
 The toilet floor has a unique beauty with hexagonal tiles
 The toilet wall tile idea is not a bad idea
 Blue porcelain tile combined with white creates a fancy beauty for the toilet
 Wooden floors are great ideas for toilets
 Beautiful toilet with accents of textured green tiles
 Cream gray ceramic tiles make the toilet space become modern and luxurious
 Wall tiles with fancy textures are a great idea for the toilet space
 The toilet with patterned tiles is an interesting highlight of this space
Today, there are many suppliers of toilet tiles with diverse sizes and designs on the market. If you are wondering which address to choose, come to Australiatiler. We are proud to be a reputable unit specializing in providing genuine construction materials from big brands.
The above is the entire content of how to tile the toilet – how to choose toilet tiles. We hope that the information we bring to you will create excitement and help your living space!
The above is the entire content of how to tile the toilet – how to choose toilet tiles. We hope that the information we bring to you will create excitement and help your living space! In addition, Australiatiler also provides screeding and tiling services for your floors with guaranteed quality and affordable prices. Quickly contact us via the hotline at 041515999 or visit our website Australiatiler to receive the best advice and offers.
Refer to some useful articles from Austrailiatiler below:
See more: Tips To Choose The Best Staircase Tiles
See more: Why Should I Choose Herringbone Tiles For The Floor?
See more: Should or shouldn’t the floor be screeding with sand and cement before laying floor tiles?


