If you’re considering a bathroom renovation or installing a new bathroom floor, it’s important to ensure that the surface floor is smooth and level. This is where screeding comes in – it’s the process of applying a thin layer of the cement-based mixture to the floor to create a flat and even surface. A well-screeded bathroom floor not only looks great but also prevents water from pooling and causing damage.
In this article, Australiatiler will walk you through the process of screeding your bathroom floor, and List the mistakes made when screeding the bathroom floor and how to fix them. Let’s get started!
See more: Top 10 Best Tiled Shower Ideas!
WHY SHOULD SCREED BATHROOM FLOOR CAREFULLY?
Screeding a bathroom floor carefully brings many benefits, such as:
1. Smooth leveled Finish

Flat and smooth surfaces are the norm when screeding bathroom floors
A well-screeed bathroom floor will provide a smooth and leveled finish. When the floor is leveled, it will be easier to install and secure fixtures such as shower screens and ensure that there is no rocking or movement once they are installed.
2. Water Drainage
Screedingtowardom floors with an optimal slope ensure that water drains properly towards the drainage systems, helps prevent water from pooling on the floor, minimizes incidents such as accidental falls, and prevents water from seeping into the building foundation buildings and causing structural damage.
3. Durability

Careful screed enhances the durability of the floor
A well-constructed screeded floor can last for decades with proper maintenance, improving the overall value of the property.
4. Proper Adhesion
Proper screeding ensures that the tiles or finish is even and smooth, providing the correct adhesion surface to apply a floor covering if required. Uneven floors can cause the adhesive to dry unevenly, and this can affect the durability of the floor covering.
HOW TO SCREEDING THE BATHROOM FLOOR
Here are the steps to screed a bathroom floor:
Step 1: First, clean the bathroom floor and ensure that it is free of debris, dirt, and dust.

Thoroughly prepare the surface before screeding
Step 2: Measure the length and width of the bathroom floor to determine the amount of screed you will need.

Determine the length and width of the bathroom floor
Step 3: Mix the screed according to the manufacturer’s instructions. Ensure that you mix it well and to the right consistency.

Mix the mortar with a specialized machine, make sure the mortar is mixed thoroughly
Step 4: Pour the screed onto the bathroom floor in small sections at a time. Then, spread it evenly using a straight edge or screeding board.

Spread the mortar evenly with a a straight edge or screeding board.
Step 5: Use a spirit level to ensure that the screed is level. For example, check the level at different points of the bathroom floor to ensure that the entire floor is level.
Step 6: Once you have screeded the entire bathroom floor, leave it to dry for at least 24 hours.
Step 7: After the screed has dried, sand the surface to remove any bumps and to create a smooth surface.

Finished screed after time to dry
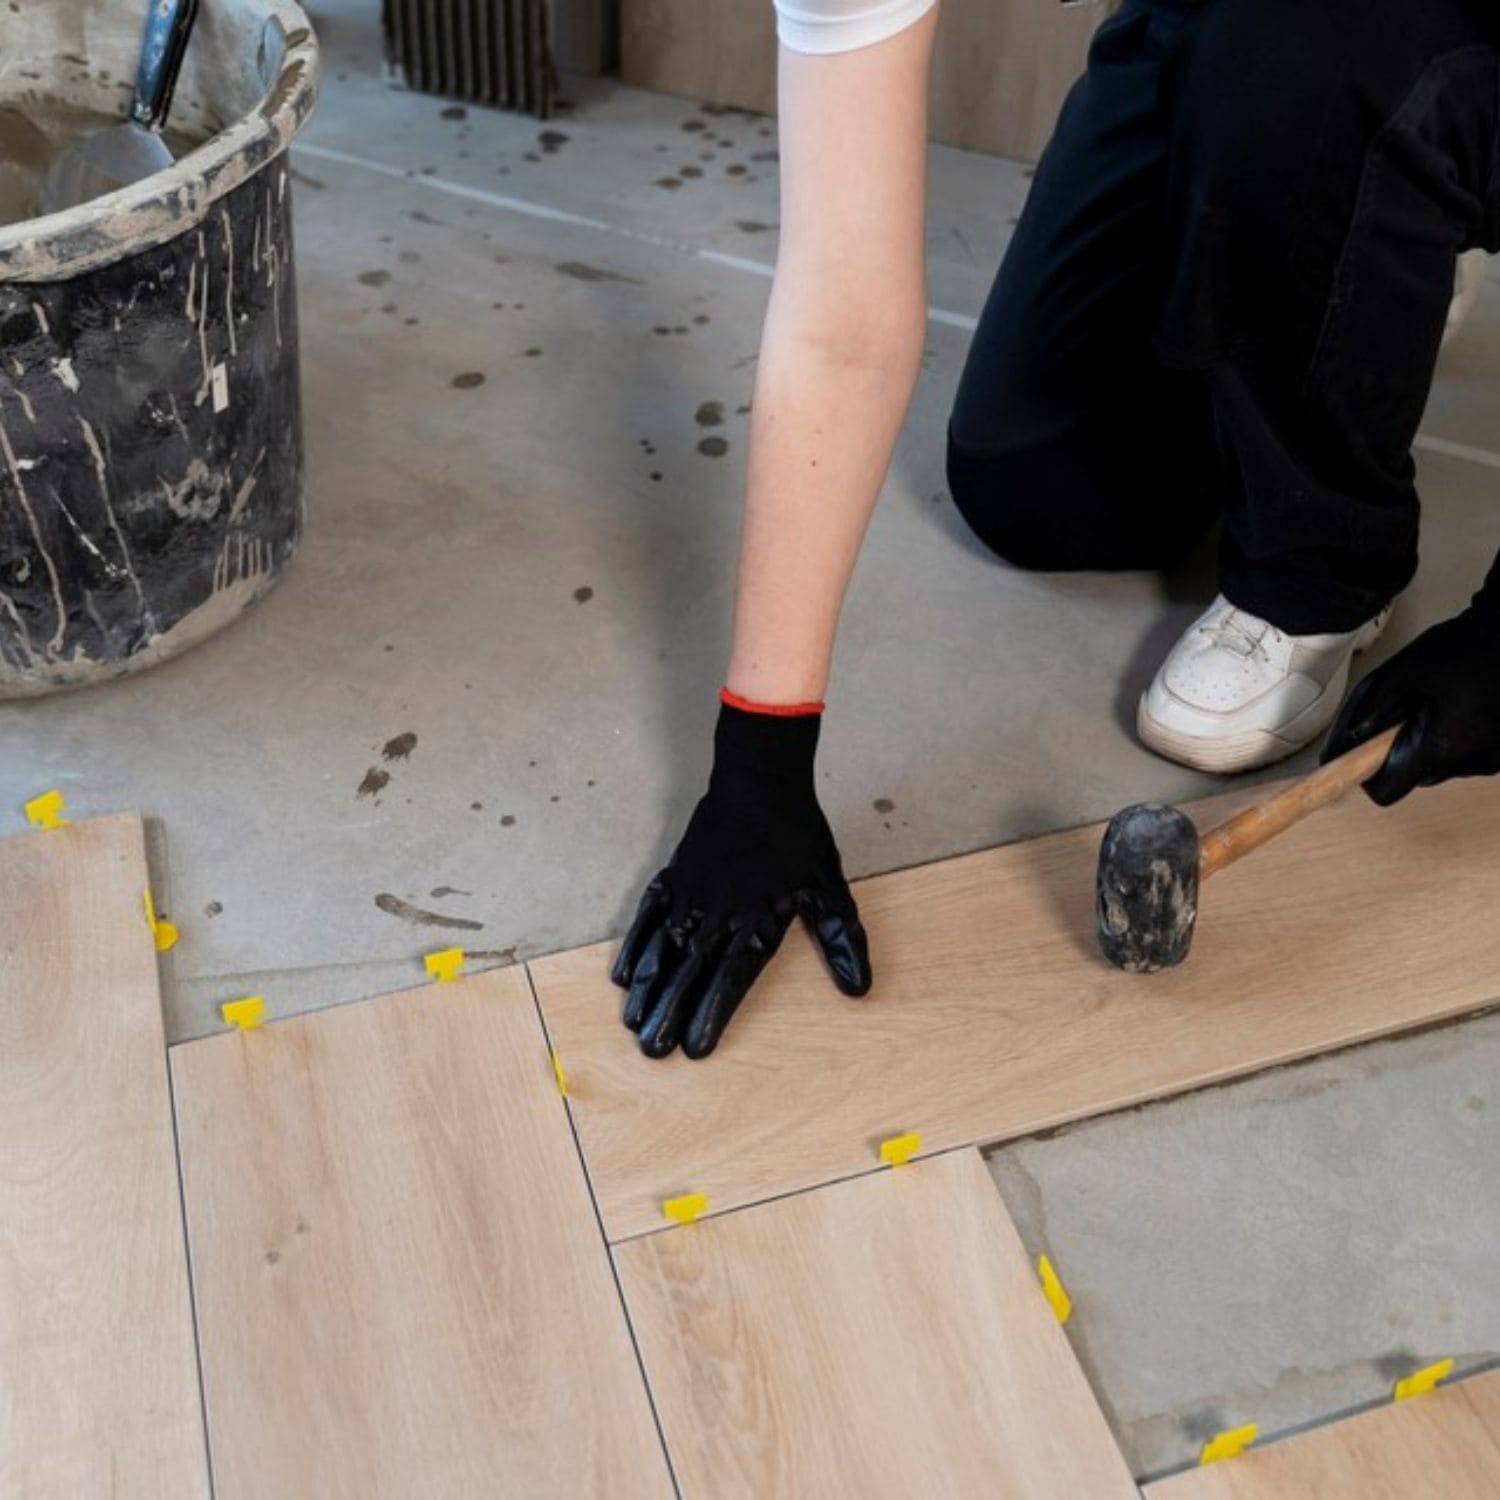
Step 8: Finally, you can lay tiles or any other flooring material of your choice on the screeded bathroom floor.

Tiling tiles on the surface of the bathroom floor
In addition, to ensure the function and durability of the bathroom floor, experts recommend applying a waterproof layer to the floor. A waterproofed floor will prevent water from seeping through the surface and reaching the subfloor below, preventing costly water damage and mold growth. Besides, waterproofing helps prolong the life of the bathroom floor, making it a valuable investment in the long run.
See more: How To Waterproof When Screeding A Shower Base?
LIST OF ERRORS MADE DURING SCREEDING BATHROOM FLOOR
Here, Australiatiler offers some common mistakes that are made during screeding a bathroom floor and their solutions:

CONCLUSION
Overall, screeding a bathroom floor can be a straightforward process if done correctly, but mistakes can lead to costly repairs or replacements. It’s important to follow the manufacturer’s instructions and take the time to measure and mix the screed properly to ensure a quality finish. By following the above solutions, you reduce the possibility of making common mistakes that may negatively impact your bathroom flooring screeding project.
Australiatiler also offers screeding and tiling services for your floors with guaranteed quality, and at affordable prices. Thanks to that, our services have won the trust of customers for many years. Quickly contact us via the hotline at 041515999 or visit our website Australiatiler to receive the best advice and offers on other related services.
Here are some other articles you may find useful:
See more: 5 Benefits Of Using Screeding In Your Construction Projects
See more: Everything You Need to Know About Screeding Concrete
See more: Should or shouldn’t the floor be screeding with sand and cement before laying floor tiles?